.png?height=120&name=MicrosoftTeams-image%20(6).png)
This article explains how to set up an 'Earn Points' campaign to boost employee engagement. By participating in designated activities, employees can collect points, and employers can tailor the program to target specific actions or behaviors.
In order to create an Earn Points campaign, log in to the Admin Center of the JobPts application. On the left-hand side, select Campaigns and then Manage Earn Points Campaigns. On the next screen select Create New Campaign.
Log in to JobPts -> Campaigns -> Manage Earn Points Campaigns -> Create New Campaign

Image: Manage Earn Points Campaigns
A new screen will open where several fields should be filled to create the Campaign:

Image: Create New Earn Points Campaign
- Campaign is Active - Whether the campaign will be visible/active in the application.
- Under Campaign Name give a specific name to the campaign as it will appear in the application.
- Under Campaign Description write an explanation about the campaign. This text will be displayed under the campaign name within the application.
- Under Campaign Assistance write a text to briefly explain the purpose of the campaign. This text will appear in the application in the right-side assistance panel.
- Campaign Disclaimer, often defined as ‘Terms and Conditions’, is a disclaimer about the program that the user needs to agree to participate in the campaign.
- Choose a campaign image or upload your own.
- Campaign Period - Select the start and end dates to define the campaign's active period in the application.

Image: Create New Earn Points Campaign
- Limit Number of Submissions - Set a submission limit for each participant.
- Campaign Participants and Approvers - Users who will participate & approve the campaign submissions.
- Campaign approvers – select between:
-
- Managers - Only managers that belong in the selected filters will be listed as approvers for a certain campaign.
- Company Structure - Employees who belong to a specific organizational unit, country, job title, company, or are individually selected can be listed as eligible to approve the campaign.
- Upload Excel File - Admins will have the ability to upload a complete list of employees designated as campaign approvers.
- By clicking on Manager's organization units, you will be able to narrow down the groups you want to add as your campaign approvers.
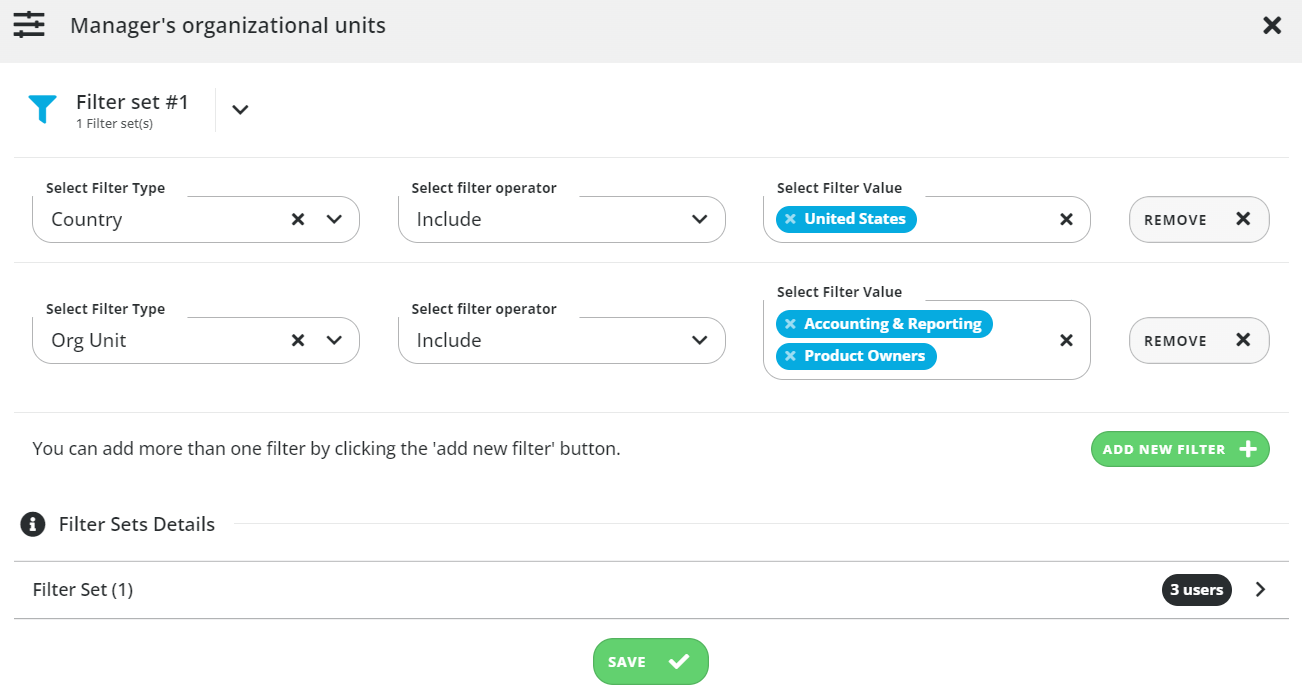
Image: Manager's Organizational Units Modal - Campaign Participants
- All - All employees will be able to take part in this campaign.
- Company Structure - Employees that belong to a specific organizational unit, country, job title, company, or are individually selected can be listed as eligible to participate.
-
-
- Upload Excel File - Admins will have the ability to upload a complete list of employees designated as campaign participants.
-
- Campaign Sections
- Add Section - By clicking this button, a new modal will open where you can name the new label and choose to add either an additional text field or a drop-down menu.
- Label Name - Name of the drop-down list.
- Add Section - By clicking this button, a new modal will open where you can name the new label and choose to add either an additional text field or a drop-down menu.
-
-
- Text Field - If this option is selected, the user will see a text box in the application where they will need to explain the reason for their submission.
-
-
-
- Dropdown - If this option is selected, the user will be able to add additional values to the drop-down list.
- Dropdown - If this option is selected, the user will be able to add additional values to the drop-down list.
-

Image: Add Section Modal
*Note: At least one campaign section is required in order to create a new one.
- Campaign Values & Settings
- Budget Amount - Designated budget for the campaign.
-
- Points Per Participant - select between:
- Fixed Value - If the value is fixed—meaning every participant receives a set number of points—it is mandatory for the submission to go through the approval process.
- Range Value - The approver can assign any value within the defined minimum and maximum range of the campaign, based on the effort demonstrated or the criteria met.
*Note: To create a non-monetary campaign, enter zero in both the Budget Amount and Fixed Value fields.
- Additional Options
- Automatic Feed Posts - The campaign posts will be automatically published on the social wall after the responsible person has approved the campaign.
- Share Uploaded Files on Social Wall - Attached files will be displayed on the social wall.
- Share Text Options on Social Wall - Additional text from the campaign will be displayed on the post.
- Share dropdown options on social wall - Additional dropdown options from the campaign will be displayed on the post.
- Points Per Participant - select between:
After you are finished, click Save to create the campaign.
If this article left your questions unanswered, please submit a Support Form, and we can clarify this topic.